
Reviewed · TASMANIA WINE, WHISKY & DISTILLERY TOURS
Signature Wine Tour – Hobart & SE Tasmania
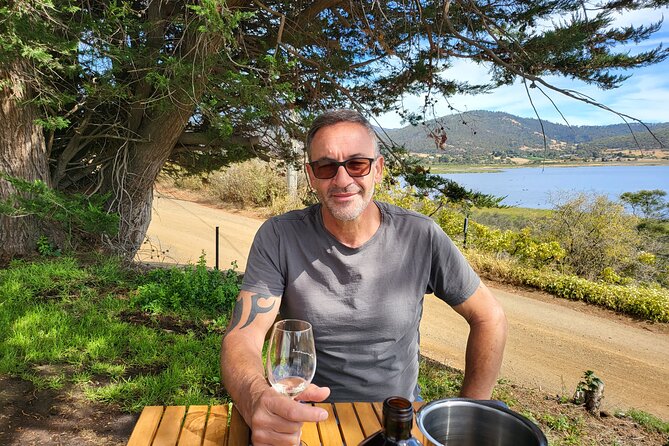
A relaxed day of wine and history awaits you. This Hobart tour hits the Derwent & Coal River Valley by car, with a small group (up to 6) and wine tastings included at multiple stops. I like that it keeps things social and unhurried, while still packing in standout places like Richmond’s historic bridge and a dedicated cheese tasting.
One thing to keep in mind: the exact order of venues can shift with weather and availability, and a stop might swap for a similar venue. It’s not a dealbreaker, but it does mean you’re buying into the day as planned, not a rigid checklist.
In This Review
- Key highlights you’ll feel on the day
- Why this small-group wine day feels worth the time
- Price and value: what $157.79 buys you (and what it doesn’t)
- Meet the guide vibe: Ross and the small-group pace
- Stop-by-stop: what each venue is really like
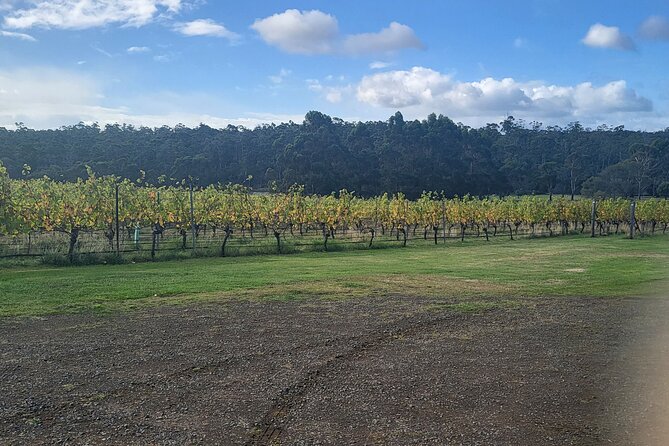
- Derwent Estate (about 1 hour): start with an anchor vineyard
- Pooley Wines (about 50 minutes): a second vineyard with variety
- Wattlebanks Cafe & Providore (about 1 hour): lunch with a real break
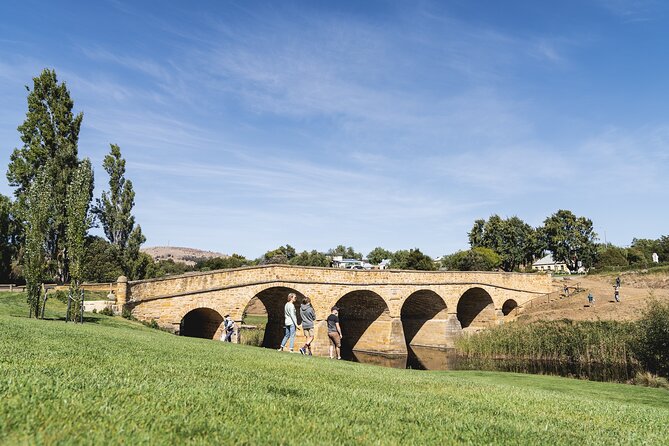
- Richmond Bridge (about 30 minutes): the historic leg-stretch
- The Wicked Cheese Co. (about 20 minutes): quick, intentional pairing time
- Frogmore Creek Cellar Door & Restaurant (about 45 minutes): a longer cellar-door finish
- Puddleduck Wines (about 45 minutes): end with a vineyard stroll
- Getting around: pickup, car comfort, and timing that doesn’t feel chaotic
- Who should book this tour, and who might want a different style
- The practical takeaways before you go
- Should you book this Signature Wine Tour?
- FAQ
- How long is the Signature Wine Tour in Hobart?
- Where does the tour start?
- Is pickup included?
- What’s included in the price?
- Is lunch included?
- How many vineyards and tasting stops should I expect?
- Can the tour order change during the day?
- What happens if the weather is poor?
- Is there a group size limit?
- Can I cancel for a full refund?
Key highlights you’ll feel on the day
- Small group size (max 6) for easier conversation and smoother timing between tastings
- Two regions in one loop: Derwent Estate plus Coal River Valley-style stops
- Wine plus cheese with a dedicated stop at The Wicked Cheese Co.
- Historic Richmond time with a stop at Australia’s oldest bridge
- Included tastings and transport comfort: bottled water and air-conditioned vehicle
Why this small-group wine day feels worth the time
If you’re visiting Hobart and want a wine tour that doesn’t feel like a factory line, this one fits the bill. It’s designed around a mix of vineyard visits and “slow down and look around” moments, with round-trip transportation so you can taste without doing the math later.
The real win here is the group size. A maximum of 6 people makes it easier for the guide to tailor the pace, and it also means you’re not shouting across the aisle while everyone tries to enjoy the same glass. The other big value point is that all wine tastings are included, so the day’s pricing is less of a moving target than with tours that nickel-and-dime tastings by venue.
For me, the best part is how the day balances different senses. You’re not just drinking. You also get vineyard stroll time, a lunch break, a historic stop in Richmond, and even a cheese tasting that helps you think about flavor pairing instead of just collecting sips.
More of the Tasmanian wine and whisky trail
Price and value: what $157.79 buys you (and what it doesn’t)
At $157.79 per person, you’re paying for a full day of transport, multiple tastings, and reserved winery time (admission tickets for the tasting venues are listed as included). You’re also getting a comfort package with bottled water and an air-conditioned vehicle—small perks that matter once you’re in a car most of the day.
What’s not included is lunch cost itself. There is a lunch stop at Wattlebanks Cafe & Providore, and the schedule gives you an hour, but you’ll pay for your meal separately. That’s typical for wine tours in Australia, but it’s worth planning for so you don’t feel surprised halfway through the day.
Also worth noting: the tour is listed as requiring good weather. If the day has to be adjusted or cancelled due to conditions, you’ll be offered another date or a full refund. That matters because vineyard days can turn uncomfortable fast when the weather turns.
Meet the guide vibe: Ross and the small-group pace
The tour is run by Bespoke Tours Hobart, and the guide name that comes up again and again is Ross. The thing that stands out in the way he runs the day is how he mixes practical wine guidance with local context. Expect him to talk you through what you’re tasting and explain how the regions fit together.
Because the group stays small, Ross can also react to what you want. That shows up in the tone of the day: it’s not a lecture, and it’s not rushed. If you finish a tasting and you’re curious about trying a bit more at the same place, you’re more likely to get the chance than on a larger tour where everyone has to move in lockstep.
Just remember that the order of stops can change. Depending on the day, availability, and weather, you might see the listed sequence shifted around, and a venue may be substituted for a similar one. Ross still keeps the day coherent—you just need to stay flexible.
Stop-by-stop: what each venue is really like
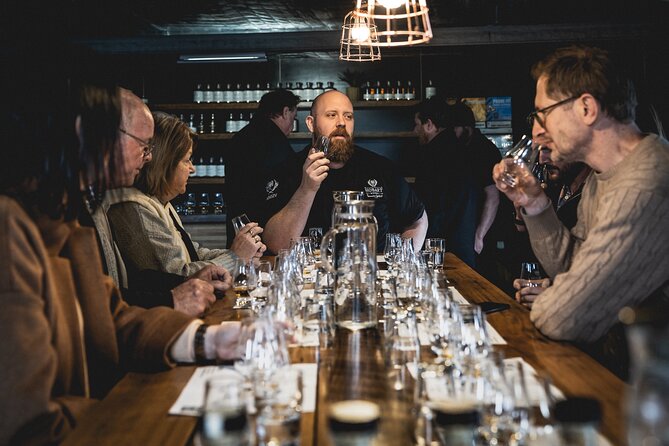
The itinerary is built around four main vineyard visits plus extra tasting and scenic stops. Exact timing stays close to the schedule, but the flow can shift based on conditions.
Derwent Estate (about 1 hour): start with an anchor vineyard
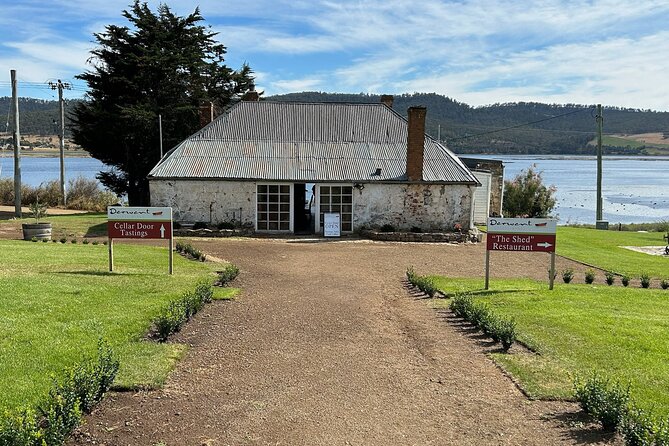
You’ll begin with a drive to Derwent Estate, a family-owned vineyard setup. The schedule gives you about an hour there, which is enough time to settle in, taste, and ask questions without feeling like the staff is constantly ushering you along.
This opening stop is smart for first-timers because it sets expectations for the day. You’re getting oriented to the region and to the general character of the wines you’ll be sampling, so later tastings feel more connected rather than random.
Practical tip: arrive ready to taste. Early in the day, your palate is freshest, so take a breath and taste thoughtfully before you order your next pour.
- Bruny Island Food, Sightseeing, Guided Lighthouse Tour & Lunch
★ 5.0 · 2,989 reviews - Full-Day Guided Bruny Island Tour from Hobart
★ 5.0 · 1,331 reviews - kunanyi/Mt Wellington Explorer Bus- Return Tour (2.5 hours)
★ 5.0 · 1,249 reviews - Hobart: kunanyi/Mt Wellington Explorer Bus Pass
★ 4.8 · 848 reviews - Bruny Island Traveller – Gourmet Tasting and Sightseeing Day Trip from Hobart
★ 5.0 · 786 reviews
Pooley Wines (about 50 minutes): a second vineyard with variety
Next is Pooley Wines, scheduled for around 50 minutes. This is another real tasting stop, not just a quick photo stop. The tour description frames it as an additional set of handpicked vineyards, and in practice Pooley is one of the anchors.
This mid-morning window helps you compare. By now, you’ve tasted enough to notice patterns (style, texture, acidity, and balance), but you haven’t yet reached “end-of-day fatigue,” which can happen when tours stack too many wineries too fast.
Wattlebanks Cafe & Providore (about 1 hour): lunch with a real break
Then comes lunch time at Wattlebanks Cafe & Providore. The schedule includes the stop and the hour, but lunch costs aren’t included.
I like this layout because it keeps you from eating on the go between tastings. You’ll have enough time to sit down, refuel, and reset. If you’re the type who wants to keep enjoying wines without feeling heavy or sluggish, this break is key.
What to do: plan on paying for lunch here, and consider keeping your meal not-too-heavy so you still enjoy the later tastings. The tour is about sipping, not bouncing from stomach to vineyard.
Richmond Bridge (about 30 minutes): the historic leg-stretch
After lunch, you get a scenic stop at historic Richmond and Australia’s oldest bridge. The itinerary lists about 30 minutes, which is perfect for a quick wander, photos, and a short walk break.
This part is valuable because it shifts the day away from pure tasting mode. Wine tours can blur together if every stop feels similar. A historic place gives your brain something new to process—and it makes the overall day feel like a day out, not just a tasting run.
The Wicked Cheese Co. (about 20 minutes): quick, intentional pairing time
The Wicked Cheese Co. is where the tour adds a different kind of flavor education. You’ll have a cheese tasting stop of about 20 minutes.
This is a short stop, but it’s focused. Cheese tasting on a wine day helps you think about pairings beyond personal preference. Even if you don’t become a cheese expert, you’ll come away with a better sense of what kind of wine style you enjoy with salty, creamy, or tangy flavors.
Tip: if you’re sensitive to dairy, eat lightly beforehand. The stop is brief, but cheese can add up.
Frogmore Creek Cellar Door & Restaurant (about 45 minutes): a longer cellar-door finish
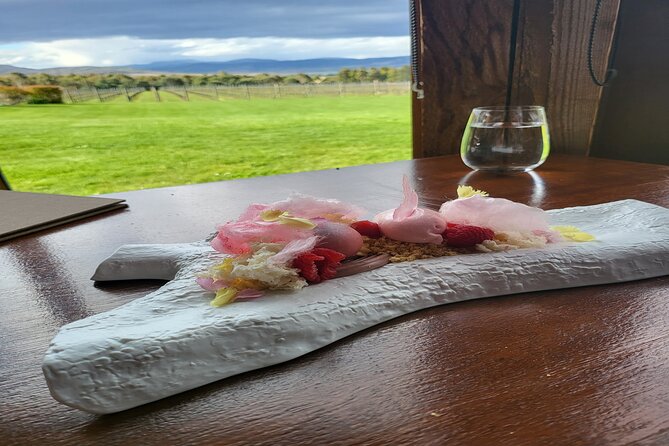
Then the tour moves to Frogmore Creek Cellar Door & Restaurant for about 45 minutes. This is another included admission/tasting stop, and it gives you more time to slow down.
A longer window here helps when you want to compare tastes more carefully. If there’s a wine you liked earlier, this is often where you’ll feel tempted to revisit that style with a clearer palate.
Because the order can change, you might encounter this venue earlier or later. Either way, its schedule length suggests you’ll have time to taste, chat, and possibly take notes.
Puddleduck Wines (about 45 minutes): end with a vineyard stroll
The day finishes with Puddleduck Wines, with about 45 minutes set aside for strolling and learning about local grape varieties and the area’s backstory.
This final vineyard moment is a good fit for the end of a tasting day. You’re not rushed through the last place, and the vineyard stroll helps you wind down instead of sprinting from stop to stop.
If you’re someone who loves learning small details—how the place is described, what people are proud of—you’ll likely enjoy this ending section. It leaves you with a “this is what I’m taking home” feeling rather than a “that’s all, done” feeling.
Getting around: pickup, car comfort, and timing that doesn’t feel chaotic
The tour runs for about 7 hours and starts at 9:30 am. Pickup is offered, and the vehicle is air-conditioned, with bottled water included.
For most people, that combination is the hidden advantage. Wine tours can be exhausting when you’re constantly getting in and out of vehicles or dealing with long waits. Here, round-trip transportation keeps the day moving while still giving you breaks between tastings.
Also, this tour caps at a maximum of 6 travelers, which generally means fewer timing hiccups. You won’t get stuck behind a bigger group when you’re heading to a venue or waiting for a tasting room.
One more note: the tour is near public transportation. So if you’re not staying in a location that’s easy for pickup, you still have options to get to the general area.
Who should book this tour, and who might want a different style
This tour is a strong match if you:
- want multiple tastings without driving yourself
- prefer a small-group vibe with a guide who can talk through the region
- like variety: wine, a cheese tasting, and a historic stop in Richmond
- enjoy a leisurely pace more than a tightly packed “see everything” day
You might reconsider if you:
- want a perfectly fixed schedule with no venue substitutions (weather and availability can change the order)
- don’t enjoy walking/strolling time on vineyard paths
- are trying to keep costs ultra-low, since lunch isn’t included and tastings can sometimes lead to bottle purchases if you find a favorite
The practical takeaways before you go
A few simple choices can make the day smoother.
- Bring a phone with enough battery for photos and mobile ticket access. The tour uses a mobile ticket.
- Expect the lineup to feel balanced rather than extreme. You’re not racing between 10 places; you’re visiting a set of quality stops.
- Pace yourself during tastings. Even with short visits, it adds up across the day.
- Plan to pay for lunch at Wattlebanks Cafe & Providore.
And if your priority is white wine, you’ll likely be happy here. One key theme that comes up with this tour is that people especially enjoy the wine selection when they like white styles.
Should you book this Signature Wine Tour?
I’d book it if you want a relaxed Hobart wine day that feels personal, not industrial. The combination of small group size, included tastings, and a guide like Ross who brings local context and friendly conversation makes it feel like money well spent, especially at $157.79.
I’d think twice if you’re the kind of traveler who needs an exact stop order every time. Because the day depends on weather and availability, you’re buying flexibility as part of the deal.
If you want a “best of” day across Derwent and the Coal River Valley, with Richmond’s historic bridge and a cheese tasting thrown in for fun, this is a solid fit.
FAQ
How long is the Signature Wine Tour in Hobart?
The tour runs for about 7 hours.
Where does the tour start?
It starts at 9:30 am.
Is pickup included?
Pickup is offered, and the tour includes round-trip transportation.
What’s included in the price?
Wine tastings are included, along with bottled water and use of an air-conditioned vehicle.
Is lunch included?
Lunch is not included in the price. There is a lunch stop at Wattlebanks Cafe & Providore, but lunch costs are extra.
How many vineyards and tasting stops should I expect?
The day includes multiple wine venues, with tastings scheduled at places like Derwent Estate, Pooley Wines, Frogmore Creek Cellar Door & Restaurant, and Puddleduck Wines. There is also a cheese tasting stop at The Wicked Cheese Co.
Can the tour order change during the day?
Yes. The order of venues can change depending on availability, weather, and other factors. A venue may also be substituted for another similar venue.
What happens if the weather is poor?
The experience requires good weather. If it’s cancelled due to poor weather, you’ll be offered a different date or a full refund.
Is there a group size limit?
Yes. The tour has a maximum of 6 travelers.
Can I cancel for a full refund?
You can cancel up to 24 hours in advance for a full refund. If you cancel less than 24 hours before the start time, the amount you paid is not refunded.
More Tours in Hobart
- Bruny Island Food, Sightseeing, Guided Lighthouse Tour & Lunch
★ 5.0 · 2,989 reviews - Full-Day Guided Bruny Island Tour from Hobart
★ 5.0 · 1,331 reviews - kunanyi/Mt Wellington Explorer Bus- Return Tour (2.5 hours)
★ 5.0 · 1,249 reviews - From Hobart: Full-Day Bruny Island Tour with Guide
★ 4.7 · 755 reviews - Day Tour in Mt. Field, Mt. Wellington, Bonorong Wildlife Sanctuary and Richmond
★ 5.0 · 735 reviews
More Tour Reviews in Hobart
- Bruny Island Food, Sightseeing, Guided Lighthouse Tour & Lunch
★ 5.0 · 2,989 reviews - Full-Day Guided Bruny Island Tour from Hobart
★ 5.0 · 1,331 reviews - kunanyi/Mt Wellington Explorer Bus- Return Tour (2.5 hours)
★ 5.0 · 1,249 reviews - Hobart: kunanyi/Mt Wellington Explorer Bus Pass
★ 4.8 · 848 reviews - Bruny Island Traveller – Gourmet Tasting and Sightseeing Day Trip from Hobart
★ 5.0 · 786 reviews
The Tasmanian Wine and Whisky Trail
- Valleys of Vino Full Day Tour
★ 5.0 · 365 reviews - Tasmanian Premium Wine Tour with Tasmanian Cheese Platter
★ 5.0 · 137 reviews - 7- 8 Hour StelaVino Guided Wine Tours From Hobart, Tasmania
★ 5.0 · 136 reviews - Hobart Half Day Wine and Food Tour
★ 4.5 · 80 reviews - Private Wine and Beverage Tours in Tasmania
★ 5.0 · 66 reviews
Just Added: Fresh Hobart and Tasmania Reviews




Tasmania Wine, Whisky & Distillery Tours, compared.
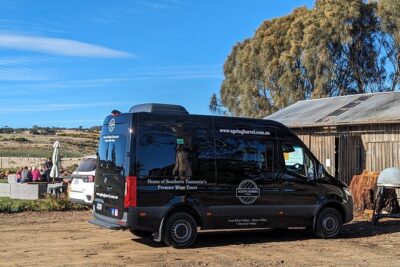 ★ 5.0Valleys of Vino Full Day TourFrom $161365 reviews
 ★ 5.0Tasmanian Premium Wine Tour with Tasmanian Cheese PlatterFrom $207137 reviews
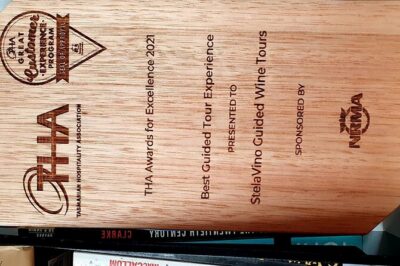 ★ 5.07- 8 Hour StelaVino Guided Wine Tours From Hobart, TasmaniaFrom $132136 reviews
 ★ 4.5Hobart Half Day Wine and Food TourFrom $12880 reviews
 ★ 5.0Private Wine and Beverage Tours in TasmaniaFrom $13366 reviews
 ★ 4.9Signature Wine Tour – Hobart & SE TasmaniaFrom $15548 reviews
 ★ 5.0Richmond and Wine TourFrom $15747 reviews
 ★ 5.0Coal River Wine HopperFrom $6347 reviews
Browse the lists this tour appears in